 Sudden Valley
 Building New in Deming? Get the Windows Right the First Time
New construction gives you one real shot at doing windows correctly. Once the siding, house wrap, and trim are closed up, fixing a bad window installation means tearing into finished work. In Deming and the surrounding Sudden Valley area, that first-shot pressure is higher than in a lot of places, because our climate doesn't forgive shortcuts. Salt-tinged air drifting in off the water, long stretches of driving rain, and a moss season that seems to run longer every year all go to work on a house immediately. A window installed with a weak nailing fin seal or a skipped flashing step won't fail on day one — it'll fail two or three winters in, quietly, behind the wall.
We install new-construction windows for builders and homeowners throughout Whatcom County, and Deming projects get the same attention we'd give a job in town: full flashing sequence, correct fin fastening, and glazing chosen for what this specific site sees — sun exposure, wind-driven rain direction, tree cover, and elevation all factor in.
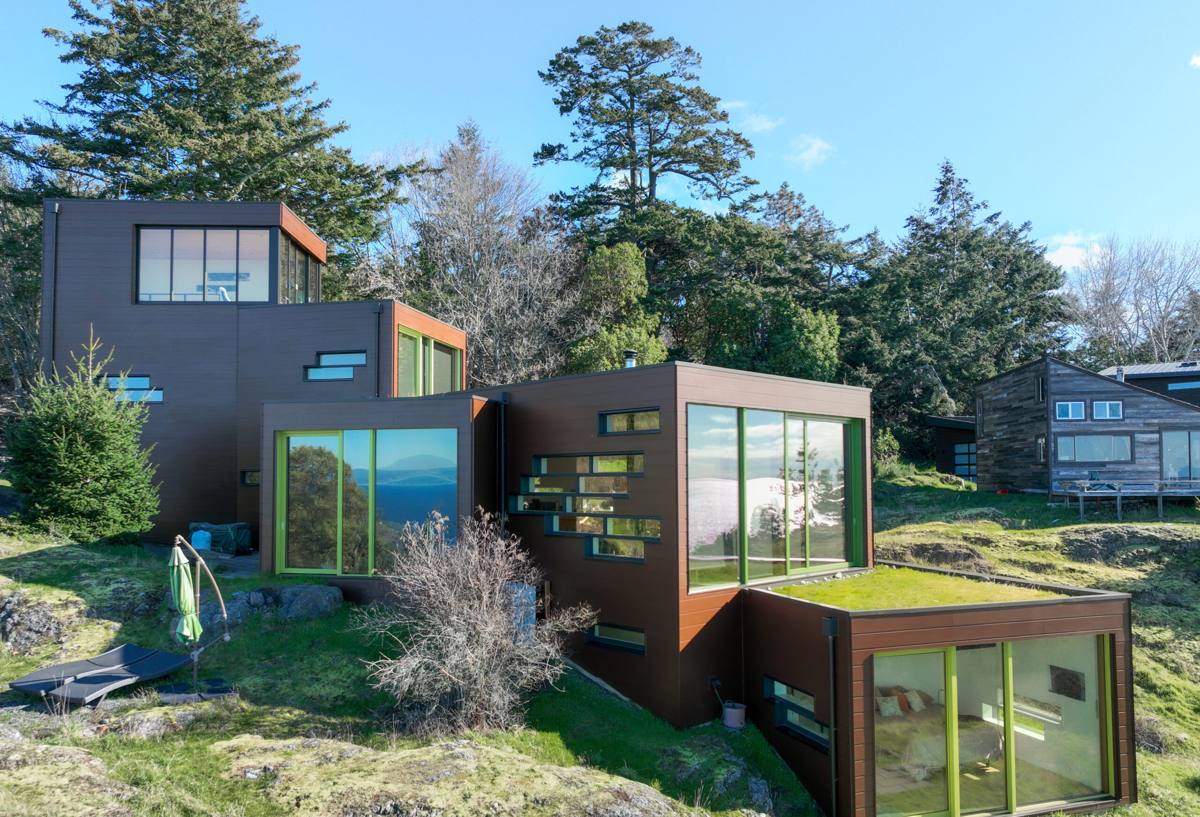
What "New Construction" Actually Means for a Window Install
New-construction windows have a nailing fin (sometimes called a flange) around the perimeter of the frame. That fin gets fastened directly to the sheathing before the house wrap and siding go on, which is different from a retrofit or "pocket" replacement window that gets inserted into an existing frame. Because the fin installation happens before the weather-resistive barrier is complete, the sequencing and flashing details matter enormously — there's no siding to hide a mistake, but there's also no going back to fix one without real demolition.
Why This Matters More Here Than in a Dry Climate
In a low-rainfall region, a mediocre flashing job might go years without showing a problem. In Whatcom County, with sustained wind-driven rain off the Puget Sound and Nooksack River valley weather patterns, water finds every gap fast. Add in the moss and algae growth that our damp, mild winters encourage, and any spot where water can sit against wood sheathing becomes a rot risk within a few seasons, not a few decades.
The Local Climate Factors That Drive Our Approach
| Climate Factor | What It Does to Windows | How We Address It |
|---|---|---|
| Salt-influenced air | Accelerates corrosion on fasteners, hinges, and lesser-grade hardware | Corrosion-resistant fasteners and hardware rated for coastal-adjacent exposure |
| Driving, wind-driven rain | Pushes water past standard flashing details, especially at sill and head | Full sill pan flashing, correct shingle-lap sequencing, self-adhered flashing tape at all penetrations |
| Long moss/algae season | Traps moisture against trim and sill areas, holding dampness longer | Sloped sills, drainage gaps, and finish materials that don't hold organic growth |
| Temperature swings (valley cold pockets to summer heat) | Causes expansion/contraction that opens poor seals over time | Proper shim spacing, low-expansion sealants, correct fin fastening pattern |
Our Installation Process
1. Rough Opening Prep and Inspection
Before a window ever goes in, we check that the rough opening is square, level, and sized correctly to the manufacturer's tolerances. On new builds this is usually clean, but we still verify — a rough opening that's off by even a half-inch forces bad shimming decisions later.
2. Sill Pan Flashing
This is the step most likely to get rushed on a busy job site, and it's the one that matters most for a climate like ours. A proper sill pan creates a backup drainage path so that any water that does get past the window has somewhere to go besides your sheathing. We build this into every install, no exceptions.
3. Window Setting and Fin Fastening
The window gets set into the opening, shimmed plumb and square, and the nailing fin fastened per the manufacturer's schedule — spacing and fastener type matter for both structural performance and warranty coverage. We follow the manufacturer's instructions exactly, because an out-of-spec install can void the product warranty even if the window itself is fine.
4. Head and Jamb Flashing
Flashing goes on in the correct shingle-lap order — sill, then jambs, then head — so that water draining down the wall always moves over the top of the layer below it, never under. This sequencing is basic building science, but it's also the single most common thing we find done backward on jobs we're called in to fix.
5. Integration with House Wrap
The window flashing has to tie into the house wrap correctly, with proper laps and no reverse-lapped seams. This is where new-construction installs differ most from retrofit work — we're coordinating with the weather barrier as it's being installed, not working around one that's already up.
6. Interior and Exterior Sealant
Sealant is a backup to good flashing, not a substitute for it. We use it correctly — including leaving the bottom of the exterior sealant joint unsealed in most applications so that any water that does get in can still drain out, rather than getting trapped.
Choosing the Right Window for a Deming Build
Vinyl, fiberglass, and wood-clad windows all show up in new construction, and each has real trade-offs worth understanding before you commit, especially for a home that'll face our weather for decades.
- Vinyl: Budget-friendly and low maintenance, but quality varies a lot between manufacturers — frame rigidity and weatherstripping quality matter more than the marketing.
- Fiberglass: More dimensionally stable through our temperature swings than vinyl, holds paint well, and generally handles moisture exposure with less long-term maintenance.
- Wood-clad: Attractive interior finish, but the exterior cladding and any exposed wood need consistent upkeep in a damp climate — we're honest with clients that this option carries a real ongoing maintenance commitment here.
We don't push one brand or material as a universal answer. What we push is correct installation and honest expectations about upkeep, because a mid-tier window installed right will outperform a premium window installed wrong.
Glazing and Performance Considerations
Whatcom County doesn't hit extreme heat, but our winters are damp and our shoulder seasons swing. Low-E coatings and appropriate gas fills help with energy performance and reduce interior condensation risk — a real concern in a climate where indoor-outdoor humidity differences run high much of the year. We'll talk through glazing packages based on the home's orientation and exposure rather than defaulting to a single spec for every opening.
Why a Deming-Experienced Crew Matters
Anyone can install a window on a calm, dry day. What separates a good install from a problem waiting to happen is how the crew handles the details that don't show up until year two or three — the flashing lap nobody sees, the sealant joint that was left to drain instead of caulked shut, the fastener pattern that matches the manufacturer's spec instead of "close enough."
Working regularly in Sudden Valley and the greater Deming area means we already know the patterns: which elevations catch the worst of the driving rain, how moss and algae behave on north-facing trim, and how the local building department expects flashing details documented for inspection. That familiarity shortens the learning curve on your job and reduces the odds of a callback.
A Practical Checklist for Your New-Construction Window Install
- Rough openings verified square and correctly sized before windows arrive on site
- Sill pan flashing installed on every opening, no exceptions
- Flashing sequenced sill-jamb-head, each layer lapping over the one below
- Fastener spacing and type matching the manufacturer's installation instructions
- House wrap integration checked for correct laps at each window opening
- Exterior sealant joints left open at the bottom to allow drainage where appropriate
- Manufacturer warranty registration completed and documentation kept for your records
- Final walk-through checking operation, weatherstripping seal, and finish quality on every unit
What This Costs and What Drives the Price
New-construction window pricing depends heavily on window count, size, material, and glazing package, so a single number isn't honest. What we can tell you is what moves the price up or down on most Deming builds:
| Factor | Effect on Cost |
|---|---|
| Window material (vinyl vs. fiberglass vs. wood-clad) | Largest single driver of per-unit cost |
| Number and size of openings | Straightforward — more and larger openings cost more |
| Glazing upgrades (Low-E, gas fill, tempered glass where required) | Moderate increase per unit, often worth it for performance |
| Elevation and access (second story, difficult site access) | Adds labor time and sometimes equipment cost |
| Flashing and detail complexity (bay windows, unusual openings) | Adds installation time regardless of window brand |
We'll walk your plans and give you a clear, itemized number rather than a vague estimate — you should know what you're paying for before we start.
Timing It Right With Your Build Schedule
Window installation needs to happen after the rough opening framing is complete but before siding closes the wall up. On active builds we coordinate directly with your builder or general contractor to hit that window in the schedule — literally and figuratively. Given how much of the year in Whatcom County brings rain, we also try to avoid leaving open rough openings exposed longer than necessary once framing is dried in.
If you're framing a new home or addition in Deming and want windows installed by a crew that treats flashing and sequencing as non-negotiable, we're happy to walk the plans with you. Reach out for a free, no-pressure estimate using the form below.