 Sudden Valley
 Building New in Sunnyland: Windows Are Not an Afterthought
If you're framing a new home in Sunnyland or elsewhere around Sudden Valley, the windows you choose and how they're installed will do more to determine your home's long-term comfort and durability than almost any other single decision on the exterior. New-construction window installation is a different job than replacing an old window in an existing wall. With new construction, the window goes in before the siding, before the finish trim, and often before the weather-resistive barrier (WRB) is fully lapped and taped. That sequencing matters. Get it right and the window becomes part of a continuous, water-shedding envelope. Get it wrong and you've built a leak path into brand-new walls that won't show itself for a few years — right about the time it's expensive to fix.
We install new-construction windows as part of full siding and exterior packages for homes going up around Sudden Valley, including Sunnyland. That means we're not a window-only crew showing up for one afternoon — we're thinking about how the window integrates with the WRB, the flashing, and the siding that goes over it, because in most cases we're installing all three.
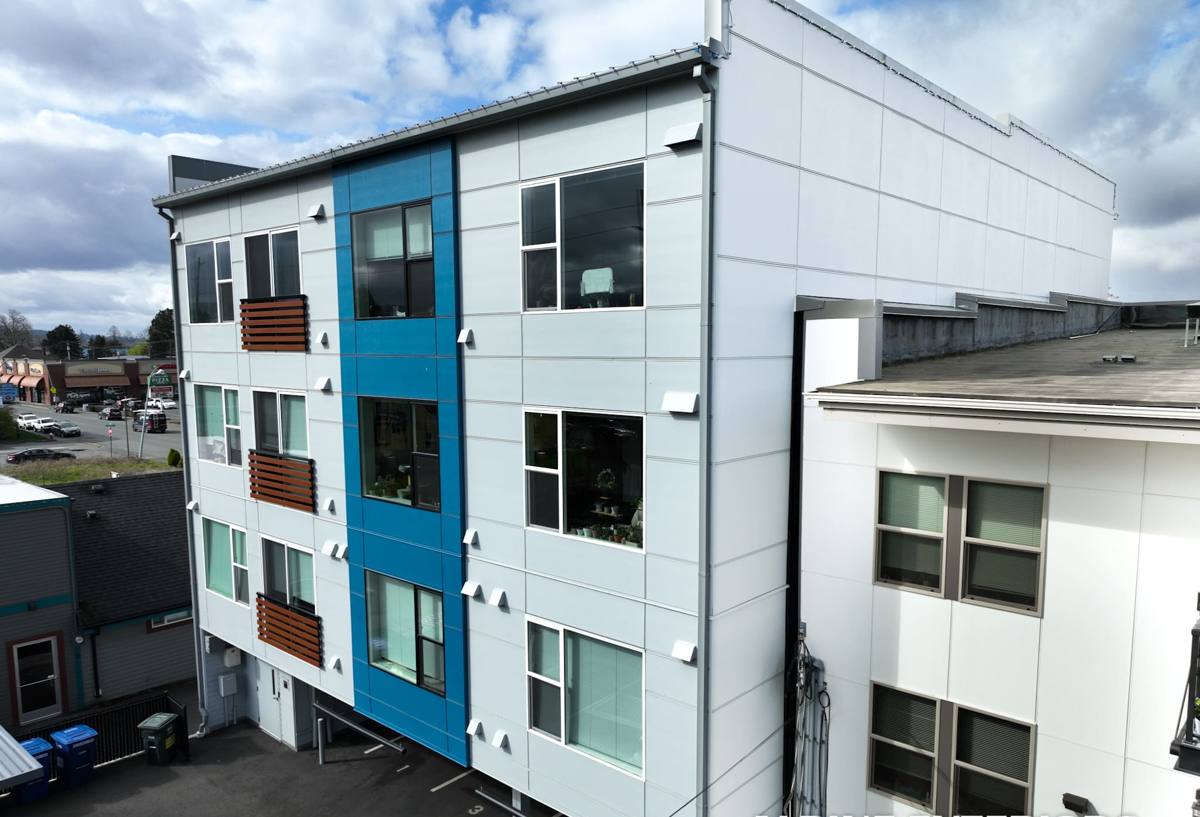
Why Whatcom County's Climate Changes the Job
Whatcom County weather is not gentle on window installations. A few things we plan around on every job:
Driving rain
Wind-driven rain doesn't just fall on a window — it pushes sideways and upward into any gap in the flashing or sealant. A window that's simply caulked around the outside and called done will eventually take on water during a hard blow off the water. Correct installation relies on shedding water by shape and sequence (sill pans, lapped flashing) with sealant as a backup, not the other way around.
Salt air
Homes closer to the water deal with airborne salt that accelerates corrosion on exposed metal — screws, hinges, and cheap window hardware in particular. We factor this into fastener and flashing metal choices so hardware isn't the first thing to fail.
A long moss season
Cool, damp stretches for much of the year mean moss and algae get a long runway to establish themselves on sills, horizontal trim, and anywhere water sits instead of draining. Window details that trap moisture — flat sills, poor drainage at the bottom corners — become moss magnets within a couple of seasons.
None of this is unique to Sunnyland, but it's a real and recurring pattern across Sudden Valley and the surrounding Whatcom County area, and it's why we don't treat window installation as a generic, one-size-fits-all task.
Choosing the Right Window for a New Build Here
There's no single "best" window — the right choice depends on budget, maintenance appetite, and how exposed the elevation is. Here's how the common options compare for our climate:
| Material | Moisture Behavior | Maintenance | Typical Cost Position |
|---|---|---|---|
| Vinyl | Won't rot; good performance if properly flashed | Low — occasional cleaning | Most affordable |
| Fiberglass | Very stable, minimal expansion/contraction, holds paint well | Low | Mid to upper |
| Wood-clad (vinyl or aluminum exterior) | Good if cladding and flashing are correct; interior wood adds warmth | Moderate — watch cladding seams | Upper |
| Aluminum | Durable frame but conducts cold; condensation risk in our winters | Low, but corrosion risk near salt air without good coatings | Varies |
For most new builds in Sunnyland, we steer clients toward vinyl or fiberglass for the bulk of the house, reserving wood-clad for feature windows where the interior look matters more than budget efficiency. We're honest about trade-offs rather than pushing one brand — the flashing and installation quality matters more to long-term performance than the frame material alone.
Glass and Performance
Look for low-E coated, argon-filled dual-pane glass as the baseline; it's standard in this climate and required to meet Washington's energy code in most cases. U-factor (heat loss) matters more here than solar heat gain coefficient, since our region isn't fighting intense summer sun the way the Southwest is. Ask any window supplier for the NFRC label numbers rather than taking a sales claim at face value — the label is the actual tested performance.
Our New-Construction Installation Process
The sequence is what separates a window that performs for decades from one that fails quietly inside the wall. On a new build, this is roughly the order:
- Rough opening is checked for square, level, and correct dimensions before the window ever shows up on site.
- Weather-resistive barrier is lapped correctly around the opening, with the bottom left open until the sill pan goes in.
- A sloped sill pan flashing is installed so any water that gets past the window has somewhere to drain — outward, not into the framing.
- The window is set, shimmed level and plumb, and fastened per the manufacturer's schedule (this affects the warranty, and we follow it, not a shortcut version).
- Side flashing and head flashing are installed in proper shingle-lap order — each layer overlapping the one below so water always moves down and out.
- WRB is taped back over the flashing legs, restoring a continuous drainage plane before siding goes on.
- Sealant is applied only where the manufacturer specifies — not as a substitute for the flashing sequence above.
Here's a quick checklist we use to sanity-check a new-construction window before it gets buried behind siding:
- Sill pan flashing present and sloped to drain outward
- Head flashing laps over side flashing, side flashing laps over sill pan
- WRB taped back over all flashing legs — no exposed seams
- Window shimmed and fastened per manufacturer instructions, not just "wedged tight"
- Weep holes and drainage paths at the sill left clear, not sealed shut
- Interior air seal in place at the rough opening (separate from the exterior water seal)
Any one of these steps skipped is usually invisible at final walkthrough and only shows up as a stain, soft spot, or mold smell a couple of years later.
Coordinating Windows With Siding and Trim
Because we handle siding as well, we install new-construction windows with the finished siding plane already in mind — trim reveal, drip cap placement, and how the siding profile will terminate at the window frame. When window installation and siding are handled by two disconnected crews, the flashing handoff between them is where problems usually start: the window installer laps the WRB one way, the siding crew expects it another, and a gap opens up at exactly the seam that needs to shed water. Running both under one crew removes that handoff risk entirely.
Meeting Washington's Energy Code
New construction in Washington has to meet current state energy code requirements for window U-factor and overall envelope performance, and this gets checked at inspection. We spec windows that clear the code comfortably rather than exactly at the line, since code minimums are a floor, not a target — and a home that just squeaks by tends to feel it on the coldest, wettest weeks of winter, which around here can be a long stretch.
Common Mistakes We See in New-Construction Window Jobs
Most of the problems that show up years later trace back to a handful of recurring shortcuts:
- Caulk used as the primary water barrier instead of proper flashing — caulk degrades and cracks; flashing geometry doesn't
- Sill pans skipped entirely, especially on lower-cost builds where the framer just wants the rough opening "closed in"
- WRB not lapped back over flashing, leaving a reverse-lap seam that funnels water inward
- Fasteners that don't hold up to salt air near the water, leading to premature hardware failure
- Flat or poorly-sloped sills that hold standing water and become the first spot moss takes hold
None of these are hard to avoid — they just require doing the sequence correctly the first time, since almost all of it is hidden behind siding once the job moves forward.
Why a Local Crew Matters for This Job
A crew that works Sudden Valley regularly has already seen how driving rain hits different elevations of a lot in this area, how moss establishes on north-facing trim, and which fastener and flashing choices actually hold up to the salt air near the water over years, not just at final inspection. That's not something you can fully get from a spec sheet — it comes from doing the work here, on homes like yours, and going back to see how earlier installs are holding up. We build every new-construction window install around what actually survives a Whatcom County winter, not just what looks right on installation day.
Get a Free Estimate for Your Sunnyland New Build
If you're framing a new home in Sunnyland or planning your window package for a build elsewhere around Sudden Valley, we're happy to walk through window selection, flashing details, and how windows and siding will come together on your specific plans. Reach out for a free, no-pressure estimate — there's no obligation, and it's a straightforward way to get a second set of eyes on your window plan before the walls close in.