 Sudden Valley
 Why Siding Installation in Sunnyland Isn't a One-Size-Fits-All Job
Every siding job in Whatcom County has to deal with moisture. But the homes in and around Sunnyland and the greater Sudden Valley area face a specific combination of stressors that doesn't show up the same way everywhere in the county. You've got salt-tinged air moving in off the water, long stretches of driving rain that hit siding at an angle instead of falling straight down, and tree cover dense enough that entire wall sections stay shaded and damp for weeks at a time. That last part is what drives the moss and algae problem homeowners here know well — siding that never fully dries out becomes a place for spores to take hold, and once moss gets a foothold on a wall, it holds even more moisture against the surface underneath it.
None of this makes siding installation here impossible or exotic. It just means the margin for error is smaller. A siding job that would hold up fine in a drier, more open part of the state can start showing problems in three or four years in a shaded, damp corner of Sunnyland — not because the product failed outright, but because the installation didn't account for how slowly things dry out here.
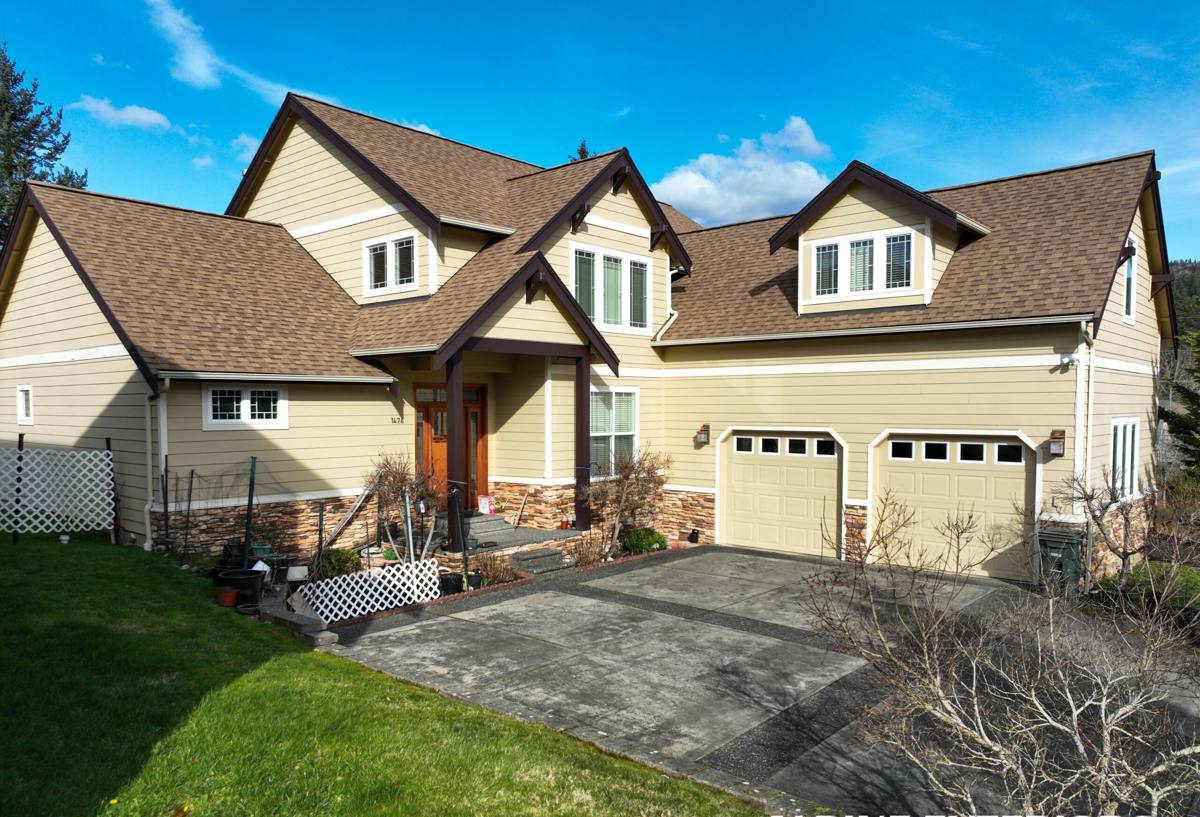
What Local Homes Actually Need From Their Siding
Strip away the marketing language and a Sunnyland home needs three things from its siding system:
- A material that doesn't feed moss and mildew. Wood-based products give organic growth something to latch onto. A dense, factory-finished fiber cement surface gives it much less to work with.
- A water-management system behind the cladding, not just on top of it. Driving rain will get past the outer surface at some point, at seams, penetrations, and trim joints. What happens behind the siding matters as much as what the siding itself is made of.
- A finish that survives UV and salt exposure without chalking or fading unevenly. Field-applied paint over wood or primed board breaks down faster under this kind of weathering, especially on walls that get direct afternoon sun after being damp all morning — the freeze-thaw-humidity cycle here is hard on coatings.
That combination is exactly why we standardized on James Hardie fiber cement and stopped installing anything else, and it's worth explaining why in some detail rather than just asserting it.
Why We Only Install James Hardie in This Climate
Fiber Cement vs. the Alternatives
Vinyl siding is inexpensive and low-maintenance in the sense that it doesn't need repainting, but it's a poor match for a shaded, moisture-heavy environment: it expands and contracts more than fiber cement with temperature swings, and gaps at seams and J-channels can let wind-driven rain track behind it. LP SmartSide and other wood-strand products perform reasonably well when the installation and caulking are perfect and stay perfect for decades, but the wood fiber core is still vulnerable if moisture gets past the surface — and on a shaded wall that stays damp longer, that's a bigger "if" than we're willing to build a reputation on. Primed spruce and raw cedar are honest, attractive materials, but they need a maintenance commitment — regular repainting or restaining — that most homeowners don't keep up with once the novelty wears off, and neglect shows up fast in a climate like this one.
What Hardie Gets Right
James Hardie fiber cement is cement, sand, and cellulose fiber — non-combustible and dimensionally stable in a way wood and vinyl products aren't. It doesn't feed mold or insects the way wood-based sidings can, and its factory-applied ColorPlus finish is baked on under controlled conditions rather than brushed on outdoors, which gives it more consistent coverage and better long-term color retention, particularly on walls that see the freeze-thaw and damp-shade cycle common around Sudden Valley.
HZ5 Engineering for the Pacific Northwest
Hardie makes climate-specific product formulations, and the HZ5 line is engineered for regions with the kind of moisture exposure Whatcom County sees — freeze-thaw cycling, sustained damp conditions, and coastal-influenced weather. We install HZ5 product here rather than a generic formulation, because the extra engineering is specifically aimed at the failure modes this climate causes, not at problems homes in Arizona or Texas actually face.
What a Correct Installation Actually Involves
The siding itself is only part of the system. Most siding failures we get called out to inspect, on any brand, trace back to what's underneath the visible surface rather than the panel or plank itself.
The Water-Management Layer
A correct installation starts with a continuous weather-resistive barrier over the sheathing, lapped correctly so water sheds down and out rather than working its way in at the seams. Every window, door, and penetration needs proper flashing integrated with that barrier — not caulk substituting for flashing, which is a shortcut that fails quietly over years. Where a roof line meets a wall, kick-out flashing has to divert water away from the wall plane instead of letting it run down behind the siding, which is one of the most common rot triggers we find on older homes in shaded, wet lots.
Fastening and Clearances
Hardie siding has to be installed with the fastening pattern and clearances specified by the manufacturer: minimum gaps at the bottom starter strip, at trim, and at any butt joints, plus proper nail placement and depth. Fasten it wrong — nails driven too deep, planks hung too tight against trim with no expansion gap — and you create places for water to collect even on a product engineered to shed it. This is where installation quality matters more than which brand of siding is on the truck.
Field Cuts and Factory Edges
Hardie's factory-finished edges are more weather-resistant than a raw field cut. Correct practice is to prime and seal any cut edge before installation, and to orient cut ends toward corners and trim where they get covered and protected, rather than left exposed. Skipping this step is invisible on install day and shows up as localized wear years later.
Common Installation Mistakes We See on Older Homes Here
| Mistake | Why It's a Problem in This Climate |
|---|---|
| Caulk used in place of flashing | Caulk degrades and cracks years before flashing would; on a wall that stays damp, that failure window is shorter |
| No gap at the starter strip or trim | Traps moisture at the bottom edge, the first place rot typically starts |
| Unsealed field-cut edges facing outward | Cut edges absorb moisture faster than the factory finish, especially under tree cover that limits drying time |
| Missing or undersized kick-out flashing | Sends roof runoff directly down the wall plane instead of away from it |
| Housewrap installed shingle-style backwards or torn at seams | Defeats the drainage plane that's supposed to carry incidental moisture back out |
Our Process for a Sunnyland Siding Installation
The work follows the same disciplined sequence on every home, adjusted for the specific exposure and shade pattern of the lot:
- Inspection and tear-off. We remove the existing siding and inspect the sheathing underneath for rot or soft spots before anything new goes up — this is often the first real look anyone's had at what's been happening behind the old siding.
- Sheathing repair. Any damaged sheathing gets replaced. Installing new siding over compromised sheathing just hides a problem instead of fixing it.
- Weather-resistive barrier and flashing. A continuous barrier goes on, correctly lapped, with flashing integrated at every window, door, and penetration, plus kick-out flashing wherever a roofline meets a wall.
- HZ5 Hardie installation. Planks or panels go up to Hardie's specified fastening pattern, gaps, and clearances, with cut edges primed and oriented away from weather exposure where possible.
- Trim, caulking, and touch-up. Trim and corner details are finished, and any factory-finish touch-up is done with Hardie-matched product rather than generic exterior paint.
- Final walkthrough. We walk the job with the homeowner before calling it done, not after the invoice is sent.
Cost Factors for a Sunnyland Siding Job
Every home is different, so we won't quote a number without seeing the house, but these are the variables that actually move the price:
| Factor | What Drives It | Typical Impact |
|---|---|---|
| Extent of hidden sheathing damage | Only visible once old siding is off | Can add repair cost not known until tear-off |
| Home size and wall complexity | More corners, gables, and dormers mean more cutting and flashing detail | Higher labor time relative to square footage |
| Siding profile chosen | Lap width, shingle-style panels, and trim details vary in material and labor cost | Moderate |
| Access and site conditions | Tree cover, slope, and staging space affect how efficiently a crew can work | Moderate, lot-specific |
| Existing moisture damage | Shaded, damp walls are more likely to have rot behind old siding | Can be the largest variable on older homes |
Why Hiring a Crew That Already Works This Area Matters
Siding installation isn't just a set of manufacturer instructions applied identically everywhere. A crew that regularly works Sudden Valley and the surrounding Whatcom County communities has already seen how the shade pattern from mature tree cover changes drying times on the north and east walls, how driving rain off the water behaves differently than a straight-down downpour, and where moss tends to establish first on local homes. That local pattern recognition shows up in small decisions on the job — where to add extra flashing attention, which wall orientation gets a longer inspection during tear-off, how aggressive to be about drainage gaps — that a crew unfamiliar with the area might not think to prioritize.
It also matters for warranty follow-through. Hardie's product warranty is strong, but it's paired with installation requirements, and a crew that installs to spec consistently in this specific climate is the difference between a warranty that's theoretical and one that actually protects you if something does go wrong down the road.
Keeping Moss and Mildew Off New Siding
Correct installation and a factory-finished, dense material go a long way, but a little homeowner attention keeps a Hardie installation looking good for the long haul in a shaded, damp setting:
- Rinse siding with a garden hose (not a pressure washer aimed directly at seams) once or twice a year, especially on shaded walls
- Trim back branches and vegetation that keep a wall section in constant shade or hold moisture against it
- Clean gutters regularly so overflow doesn't run down the wall face
- Address any moss or algae early with a gentle exterior wash rather than letting it establish and spread
- Have caulking at trim and penetrations checked periodically, since caulk is a maintenance item even on a low-maintenance siding system
None of this is heavy maintenance — it's the kind of upkeep that takes an afternoon a couple of times a year — but skipping it on a shaded, damp lot lets moss get ahead of you faster than it would on a drier, sunnier property.
Get a Straight Answer for Your Home
If you're weighing a siding replacement in Sunnyland or elsewhere around Sudden Valley, we're happy to take a look at your home, explain what we find once the old siding comes off in similar homes nearby, and give you a straightforward, no-pressure estimate for a correctly installed James Hardie system built for this specific climate.