 Sudden Valley
 Window Installation Built for Alger's Climate
Homes in and around Alger sit in a stretch of Northwest Washington where weather isn't gentle on building envelopes. Salt-laden air off the nearby waterways, long stretches of driving rain, and a moss season that seems to run longer every year all put steady pressure on window openings. A window that's installed correctly can handle decades of that. A window that's installed even slightly wrong — a missed flashing lap, a bead of caulk asked to do a job it can't do — starts failing from the inside out long before anyone notices a problem from the curb.
This page is about one job, done right, in one area: window installation for Alger homes. Not a general overview of every service we offer, but the specifics of what this climate demands from a window install and how we handle it.
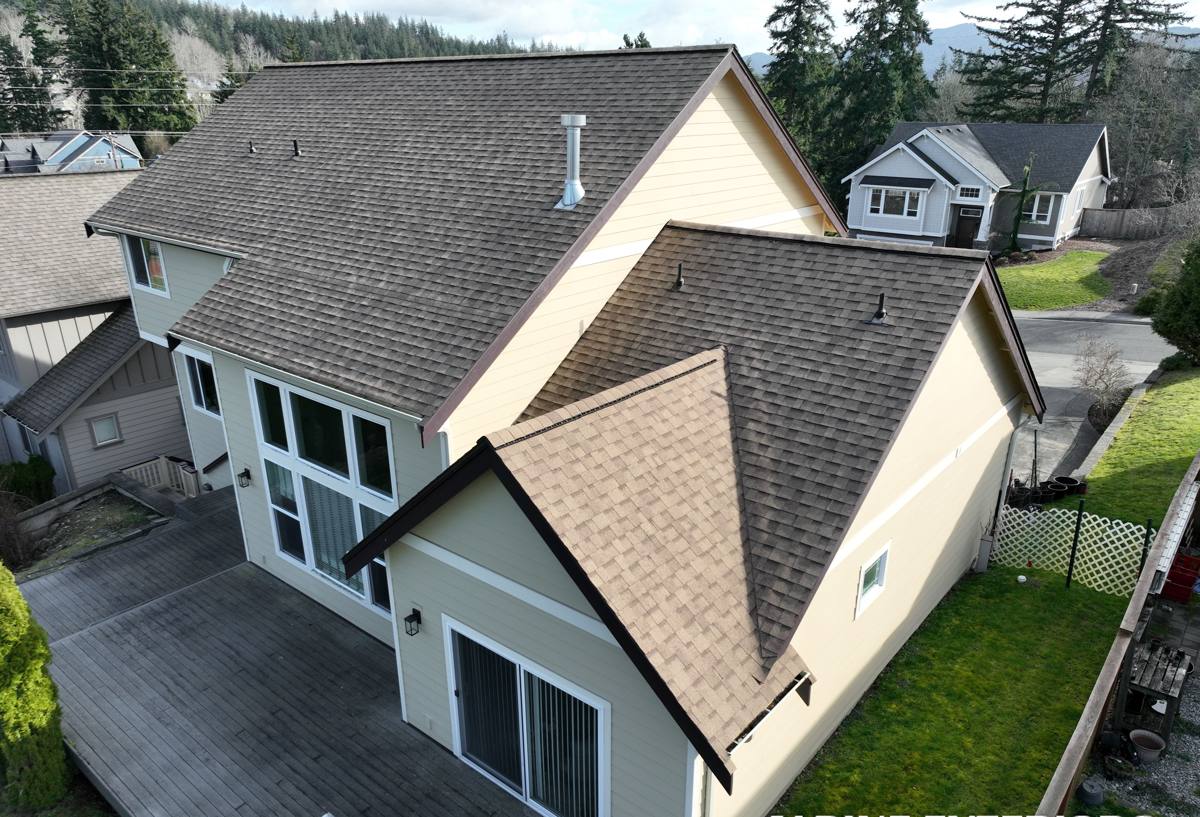
What Alger's Weather Actually Does to a Window Opening
It helps to understand what you're up against before you talk about solutions.
Salt Air
Proximity to marine air means airborne salt settles on and around exterior surfaces, including window frames, fasteners, and flashing. Over time, salt exposure accelerates corrosion on unprotected or lower-grade metal components — screws, flashing, and hardware — and can degrade certain finishes faster than they'd wear in a drier inland climate. This is less about the glass and more about everything holding the window in place.
Driving Rain
Rain that falls straight down is relatively easy to manage. Rain that's pushed sideways by wind — which is common through fall and winter here — finds every gap, seam, and shortcut in a window installation. A window opening built for driving rain needs a layered water-management system, not just a caulk line at the trim.
Moss and Sustained Moisture
Whatcom County's long wet season keeps moss and organic growth active for much of the year, and it doesn't stay confined to roofs. Moss and algae can establish on north-facing trim, sills, and anywhere moisture lingers without enough sun or airflow to dry it out. Beyond being unsightly, sustained moisture against wood trim or sheathing is exactly the condition that leads to rot if the underlying assembly isn't sealed and drained correctly.
What a Correct Window Installation Actually Involves
A lot of window "replacements" are really just swapping the sash or the unit itself while reusing an old, sometimes already-compromised opening. That's where problems get inherited. A correct installation treats the opening as part of the job, not an afterthought.
The Water Management Layers
- Sill pan flashing — creates a sloped, waterproof pan at the bottom of the opening so any water that gets past the window has somewhere to go besides your wall framing.
- Weather-resistive barrier integration — the window's flanges need to be properly lapped into the house wrap or building paper in the correct shingle-style order, not just taped over.
- Flashing tape at jambs and head — sealed in a sequence that sheds water downward and outward, never trapping it behind the window.
- Head flashing or drip cap — directs water running down the wall out and away from the top of the window rather than letting it pool against the frame.
- Backer rod and sealant — used correctly, not as a substitute for the flashing layers above, but as the final gap-filling step.
Fit and Shimming
A window has to be level, plumb, and square in the opening, shimmed at the correct load points so the frame doesn't rack or bind. A window installed slightly out of square will operate poorly and stress the seals unevenly, which shortens its service life regardless of how good the unit itself is.
Insulation Without Overfilling
The gap between the window frame and the rough opening needs insulation, but expanding foam used incorrectly can bow window frames inward. Low-expansion foam, applied correctly, fills the gap without distorting the unit.
Signs an Alger Home's Windows Need Attention
Homeowners often notice symptoms without knowing the cause. Here's what tends to point back to the window opening rather than the glass itself:
- Soft or discolored trim or sill wood, especially on walls that face prevailing wind and rain
- Moss or dark staining developing on trim in shaded or north-facing areas
- Drafts felt near the frame even when the window is fully latched
- Fogging or condensation between panes, which usually signals a failed seal in the glass unit itself
- Paint or finish peeling specifically around the window perimeter, often a sign moisture is getting behind the trim
- Difficulty opening, closing, or latching a window that used to operate smoothly
Any one of these on its own isn't necessarily an emergency, but they're worth having looked at before a wet winter turns a small issue into a framing repair.
Our Installation Process
1. On-Site Assessment
We look at the existing opening, not just the window. That includes checking for signs of past water intrusion, evaluating the condition of the sheathing and trim, and confirming the opening's dimensions and squareness before anything is ordered.
2. Product Selection
We walk through frame material, glass packages, and hardware options based on the home's exposure — a wall that takes direct driving rain and wind gets talked through differently than a sheltered side of the house.
3. Removal and Opening Prep
Old units are removed carefully to avoid damaging the surrounding wall assembly. Any rot, damaged sheathing, or failed old flashing found at this stage gets addressed before the new window goes in — not covered up.
4. Flashing and Installation
Sill pan, weather-resistive barrier laps, flashing tape, and head flashing go in following manufacturer instructions and standard water-management sequencing. The window is set, shimmed, checked for level and square, and fastened per the manufacturer's schedule.
5. Sealing and Trim
Interior and exterior sealant, insulation, and trim work finish the installation, with attention to keeping finished surfaces sloped and drained rather than flat and water-holding.
6. Final Walkthrough
We test operation, check the seal, and walk the homeowner through what was done, including any recommendations for the surrounding siding or trim if we found related wear.
Frame Material Trade-Offs for This Climate
There's no single "best" window material for every home — it depends on exposure, budget, and maintenance appetite. Here's how the common options generally compare for a marine, wet-winter climate like this one:
| Material | Moisture Resistance | Maintenance | Typical Trade-Off |
|---|---|---|---|
| Vinyl | Good — won't rot or corrode | Low | Frame can expand/contract with temperature swings; color choices are more limited |
| Fiberglass | Very good — dimensionally stable, resists moisture | Low | Higher upfront cost than vinyl |
| Aluminum-clad wood | Good exterior protection, wood interior needs a sound seal | Moderate | Any breach in the cladding seal exposes wood to moisture; more installation-sensitive |
| All-wood | Requires diligent finish maintenance in this climate | High | Best traditional look, but least forgiving of a maintenance lapse near salt air and driving rain |
We'll talk through these honestly for your specific home rather than pushing one product line — the right call depends on which wall it's going on and how much upkeep you want to sign up for.
Why Local Installation Experience Matters
Window flashing details that work fine in a dry inland climate can fall short here. A crew that installs windows regularly in Whatcom County's marine environment already knows to prioritize sill pan flashing and correct water-shedding sequencing on every job, not just when a homeowner asks about it. We've seen what driving rain does to a shortcut installation and what sustained moss-season moisture does to trim that wasn't properly sealed. That's the kind of judgment that only comes from working this specific climate, not from a general installation checklist.
It also matters for warranty coverage. Most window manufacturers require installation according to their specifications for the product warranty to hold — an incorrect installation can void coverage on the glass unit even if the window itself was a good product.
Cost Factors to Expect
Every home and opening is different, so we don't quote sight-unseen, but the main factors that move the price are consistent:
- Number of windows and whether it's a single opening or a full-home project
- Frame material and glass package selected
- Condition of the existing opening — sound framing costs less to work with than an opening with hidden rot or old flashing that has to be replaced
- Access and height, particularly for upper-story windows
- Trim work — matching existing exterior trim profiles can add labor versus a simpler trim replacement
Homeowners considering multiple windows at once often find it more cost-effective per window than doing them one at a time over several years, since setup and labor are shared across the project.
Get a Straight Answer for Your Home
If you're noticing drafts, staining, moss buildup, or a window that's just getting harder to operate, it's worth having someone look at the opening, not just the sash. We'll give you an honest read on what's going on and what it would take to fix it right. Reach out for a free, no-pressure estimate — there's a form right below to get started.