 Sudden Valley
 Building New in Happy Valley? The Windows Matter More Than the Brand Name
If you're framing a new home or an addition in the Happy Valley area, the windows are one of the few components that get exactly one chance to be installed right. Once siding, trim, and interior finish work close in around a window opening, any flashing mistake underneath is hidden — and it usually stays hidden until it shows up as a stain on drywall, a soft spot in sheathing, or a musty smell a few winters later. New-construction windows aren't just "replacement windows installed earlier." They're a different job with a different set of steps, and in a climate like ours, skipping any of those steps is how a brand-new house starts developing old-house problems.
Sudden Valley Siding installs new-construction windows on new builds and additions in and around Happy Valley. This page covers what that job actually involves, what our climate demands of it, and what to look for from any crew you hire to do it — whether that's us or someone else.
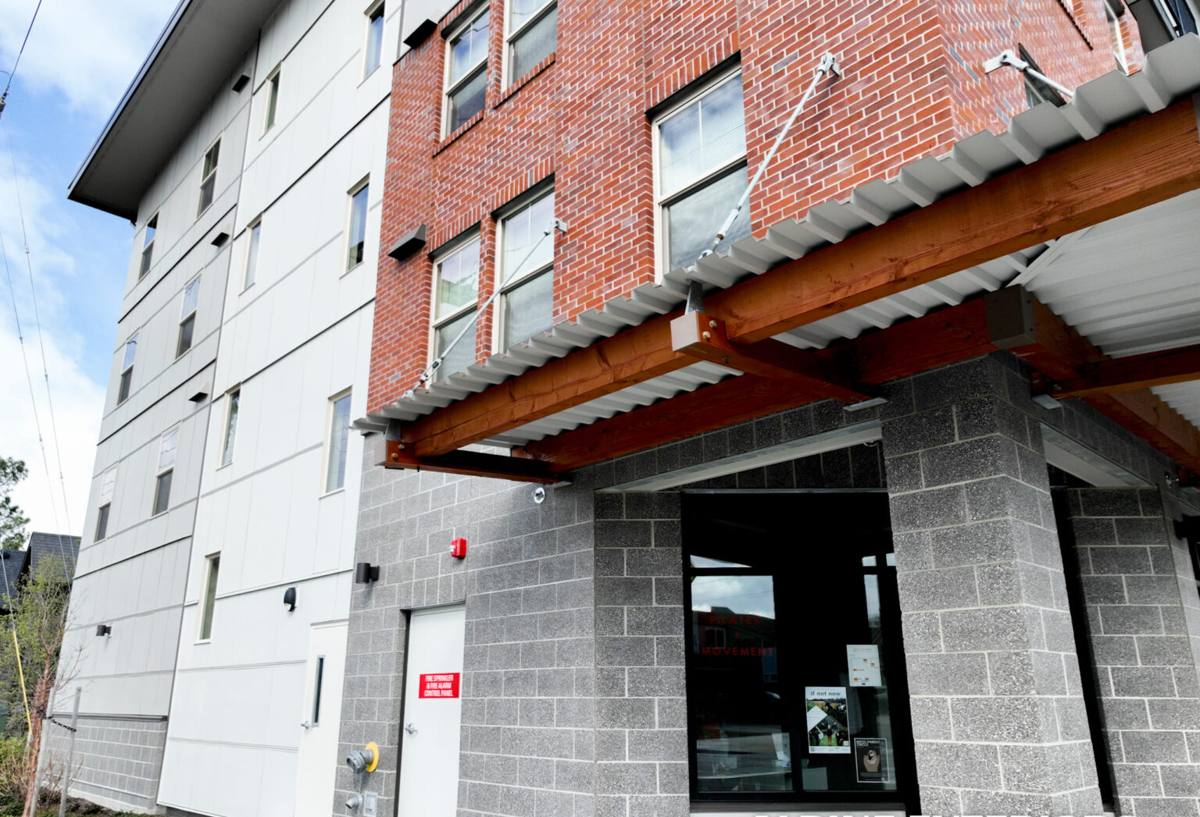
Why New-Construction Windows Are a Different Job Than Replacement
New-construction windows have a nailing fin (flange) around the perimeter that gets fastened directly to the wall sheathing before siding goes on. That fin, and everything layered around it — house wrap, flashing tape, a sloped sill pan — is what keeps water out of the wall cavity for the next several decades. Replacement windows, by contrast, get inserted into an existing frame with the old exterior finish still in place, which is a different (and generally less forgiving) set of trade-offs.
On a new build, we're working with an open wall before siding closes it up, which is actually an advantage: it lets us build the water-management system in layers, in the right order, instead of working around finished siding. That's the whole point of doing it during framing rather than retrofitting later — get it right once, from the inside out.
What Happy Valley's Climate Actually Demands From a Window Install
Whatcom County weather is the reason "good enough" flashing details don't hold up here the way they might in a drier region. A few specifics that shape how we approach every install:
Driving rain, not just rain
Wind-driven rain hits window openings sideways, not straight down. That means water can be forced up and under a poorly lapped flashing detail, not just run down the face of the wall. Every layer around a window — house wrap, flashing tape, sill pan — has to be lapped in the correct shingle-style order (each layer overlapping the one below it) so wind-driven water is directed out, not in.
Salt air and corrosion
In parts of Whatcom County exposed to salt air off the coast, metal fasteners, flashing, and hardware corrode faster than they would inland. We spec corrosion-resistant fasteners and flashing materials for homes in that exposure, and we don't assume a standard interior-grade fastener will hold up the same way over 20 years near salt air as it would a few miles inland.
A long moss and mildew season
Shaded, damp conditions for a good chunk of the year mean any spot where water can sit — a poorly sloped sill, a gap in caulking, a low point in a drip cap — becomes a place where moss, algae, and mildew take hold. That's mostly a siding and trim issue, but it matters at the window because a sill or trim board that stays damp longer than it should will fail faster, moss or not.
Sustained humidity
Even without active rain, the air here holds more moisture for more of the year than in drier climates. That affects how quickly caulking and sealants break down and how important it is to give window openings a way to dry out if a small amount of moisture does get past the primary seal — which is why drainage, not just sealing, is part of a correct install.
The Anatomy of a Correct New-Construction Window Install
There's a right order to this, and skipping a step — or doing them out of sequence — is the single most common cause of window-related water damage in new builds. Here's what should happen, in order, at every opening:
- Rough opening check: confirm the opening is square, plumb, and sized correctly before anything gets installed. A window shimmed to fit a bad opening rarely operates or seals correctly.
- Sill pan flashing: a sloped, waterproof pan at the bottom of the opening so any water that does get past the window has somewhere to go — out, not into the wall.
- House wrap integration: the water-resistive barrier gets cut and folded into the opening before the window goes in, not taped over the window afterward.
- Window installation: set level, plumb, and square, fastened per the manufacturer's schedule — not just "wherever the fin has a hole."
- Flashing tape at jambs and head: applied in the correct shingle-lap order so each layer sheds water onto the layer below it, working from the bottom up.
- Head flashing or drip cap: directs water running down the wall out and away from the top of the window rather than letting it pool against the frame.
- Sealant at the right points only: some manufacturers specify where to seal and, just as important, where not to seal, to leave an intentional drainage path. Sealing everything solid can trap water instead of releasing it.
- Interior air sealing: a separate step from exterior weatherproofing, done to control drafts and condensation without interfering with the exterior drainage plane.
Every one of those steps is inspectable while the wall is still open. Once siding and interior finish go on, most of it is invisible — which is exactly why it has to be done correctly the first time.
Choosing Window Framing Material for This Climate
Frame material affects how a window performs over decades of Whatcom County weather, not just how it looks on day one.
| Material | Moisture Resistance | Maintenance | Typical Lifespan |
|---|---|---|---|
| Vinyl | Good — won't rot, but seams and welds are worth checking for quality | Low — occasional cleaning | 20–30 years |
| Fiberglass | Very good — dimensionally stable in wet/dry cycling | Low | 30–40+ years |
| Wood-clad | Depends heavily on cladding integrity and install quality | Higher — cladding and interior wood need periodic attention | 20–40 years, install-dependent |
| Aluminum | Poor thermal performance, prone to condensation in our humidity | Low structurally, but condensation issues need managing | 20–30 years |
We don't push one material as the only right answer — the right choice depends on your budget, the home's design, and how much upkeep you want to take on. What we do push back on is any product or detail whose long-term moisture behavior in a wet climate is questionable, or that's known to be sensitive to installation quality, because a marginal install error on a moisture-sensitive product shows up as a callback years later, not on move-in day.
What Actually Drives New-Construction Window Cost
| Factor | Why It Matters |
|---|---|
| Number and size of openings | More and larger windows mean more flashing detail work, not just more glass |
| Frame material and glass package | Fiberglass and upgraded low-E/argon glass cost more upfront, less over time |
| Wall complexity | Bump-outs, multiple stories, and unusual rooflines above windows add flashing complexity |
| Exposure | Openings facing prevailing wind-driven rain get extra flashing attention, which adds labor |
| Access and staging | Site conditions during framing affect how efficiently a crew can work |
We give a firm, itemized quote after walking the plans or the framed opening — not a rough per-window number pulled out of the air, since the flashing detail work varies more than the window unit cost does.
Our Process for a Happy Valley New-Construction Job
We coordinate with your builder or general contractor, since window install timing has to line up with framing, house wrap, and siding schedules. Broadly, our process looks like this:
- Review plans or walk the framed openings before ordering, to confirm sizes and identify any openings that need extra flashing attention due to exposure or wall design
- Confirm window selection — material, glass package, and manufacturer specs — and order with enough lead time to avoid delaying the framing schedule
- Install sill pans, integrate house wrap, and set windows in the correct sequence, with each layer inspected before the next goes on
- Apply flashing tape and head flashing per manufacturer instructions, adapted for our wind-driven rain exposure where relevant
- Walk every opening with you or your builder before siding closes it in, so nothing gets covered up unverified
Mistakes We See — and What a Correct Install Avoids
Most window-related water problems we're called to diagnose in newer homes trace back to a handful of avoidable errors:
- House wrap taped over the nailing fin instead of integrated underneath it in the correct order
- No sill pan, or a flat (unsloped) sill pan that can't drain
- Sealant applied everywhere, including drainage gaps that were supposed to stay open
- Flashing tape applied out of shingle-lap sequence, letting water track backward under a layer instead of over it
- Fasteners that aren't rated for the exposure, especially in salt-air locations
- Windows set out of square, which stresses seals and hardware even if water management is otherwise correct
None of these are visible after the wall closes up. That's exactly why the sequence matters more than any single product choice — a premium window installed with a skipped step behaves worse over time than a modest window installed correctly.
Why It Matters That We Already Work in Happy Valley
A crew that regularly works Whatcom County builds already knows which exposures around Happy Valley catch the worst of the wind-driven rain, where salt air exposure calls for upgraded fasteners, and how long the moss season typically runs in shaded lots. That's not something you can fully substitute with a spec sheet — it changes small decisions on-site, like where to add extra flashing attention or which sealant gap to leave open for drainage on a particularly exposed wall. It also means we're a known, findable crew if a warranty question comes up years down the road, not a name from a one-time out-of-area bid.
Living With New Windows Here: What Ongoing Care Looks Like
A correctly installed window needs very little upkeep, but a little attention goes a long way in this climate:
- Rinse pollen, salt residue, and grime off frames and glass a couple times a year
- Keep weep holes (small drainage openings at the sill) clear of debris and moss so water can exit as designed
- Check exterior caulking annually for cracking or gaps, especially after a hard winter
- Watch for condensation between panes, which signals a failed seal on an insulated glass unit — not a moisture-management problem, but worth addressing under warranty
If you're planning a new build or addition in Happy Valley and want windows installed by a crew that treats the flashing details as seriously as the windows themselves, we'd be glad to walk your plans or your framed openings and give you a straightforward, no-pressure estimate. Use the form below to get started.